tl;dr:
If you are looking for the work I have done for GSoC 2017, here are the principal repositories containing the source code and documentation:
– [1] ONOS
– [2] SDWN controller
– [3] SDWN agent
Also, check out the website that Johannes and I created to document how our two GSoC projects can be combined.
August Progress
In my last blog post I wrote that during the final coding phase I wanted to focus on applications for my controller platform – mainly an app that integrates my controller with Johannes’ OpenWifi server. While I was programming it, I noticed that I was getting tangled in unstructured dependencies between the different parts of my code. I realized that the controller needed a refactoring to better define its main application-facing interfaces. So I decided to modularize it into 4 separate pieces:
a command-line interface,
With the refactoring done, I built two applications: the aforementioned OpenWifi integration and a simple client hearing map. Unfortunately I ran out of time just when adding features was fun again. The basics are all in place and working but I did not finish the more advanced applications such as the client load balancer or client authenticator that I mentioned in my last blog post.
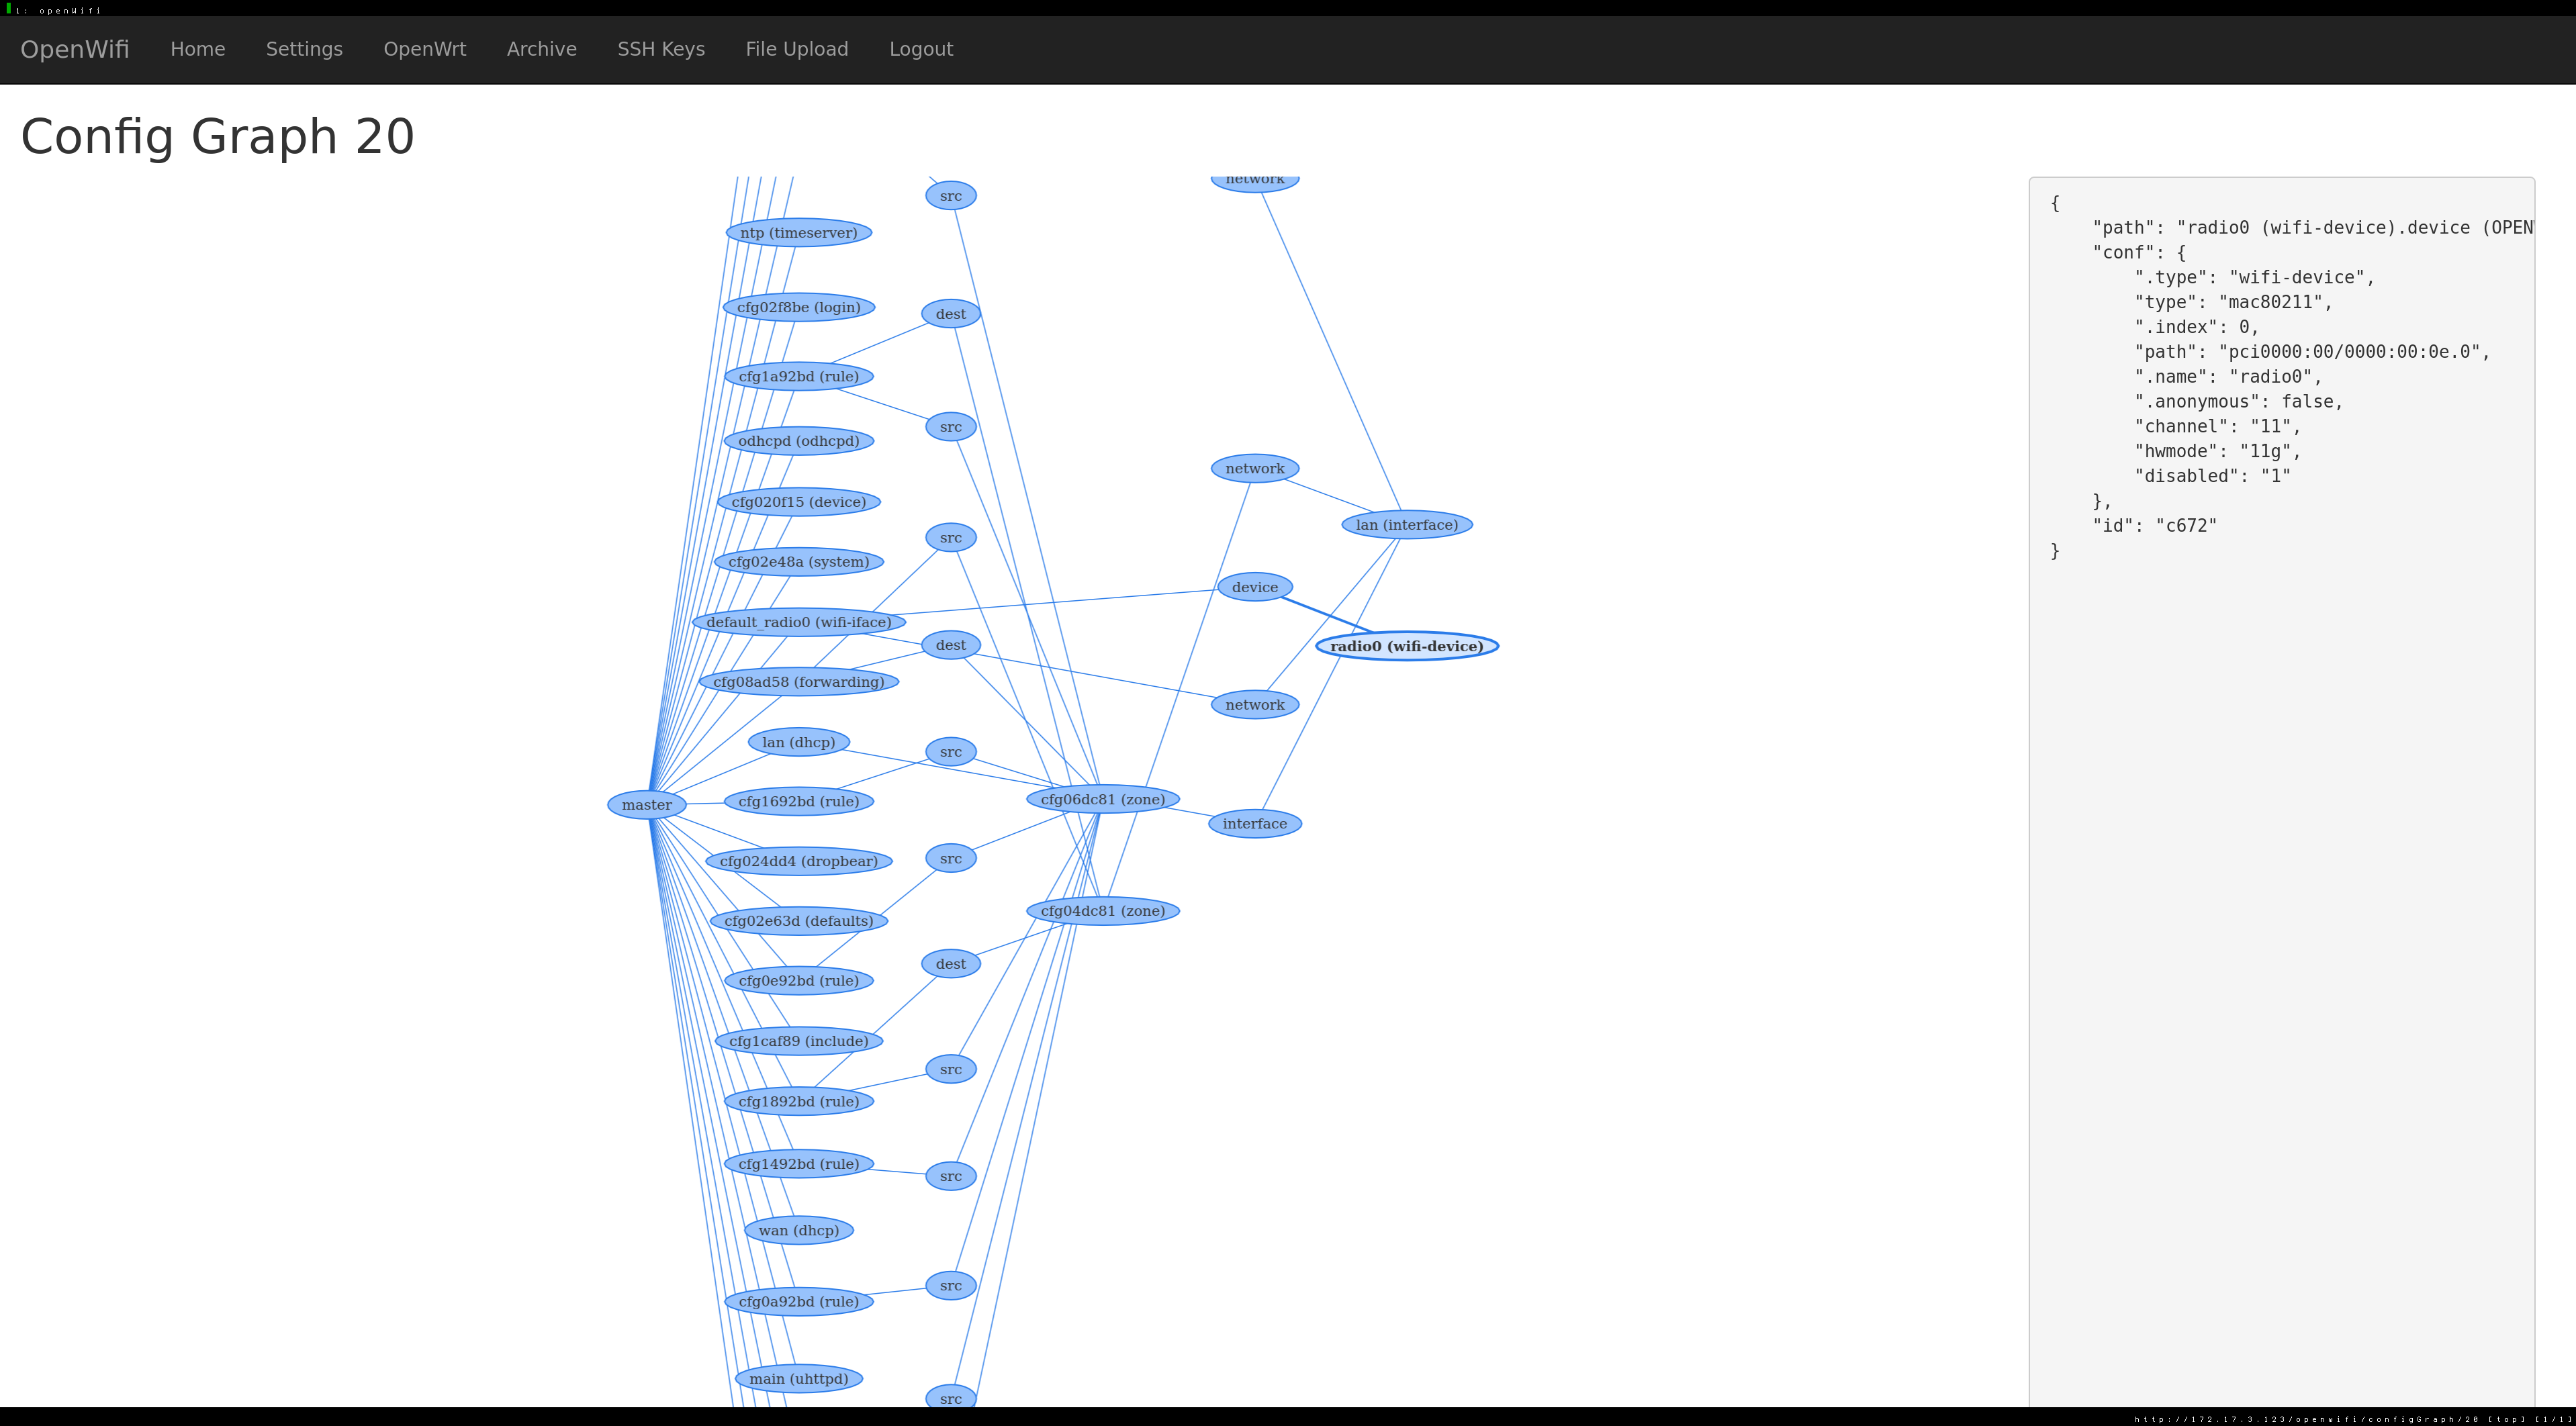
On the more positive side, I really like how the newly structured controller behaves when adding features as well as how the OpenWifi integration turned out. A combined SDWN/OpenWifi setup is shaping up to become a neat management tool to operate a large deployment of LEDE nodes in which most of the initial configuration is automated. Nodes discover the OpenWifi server, download a configuration which makes them initiate a connection to the SDWN controller which gathers information about the nodes’ wireless capabilities and running access points. Throw in the hearing map and the nodes start reporting clients in their vicinity to the controller which makes that information available via its various APIs. Seeing it in action felt rewarding and dampened my initial disappointment of not getting everything done.
Johannes and I have put together a small website using GitHub pages which explains how to set up and use a combined SDWN/OpenWifi system.
Also during the past month, I have reached out to the ONOS developers about my work on the compatibility of ONOS’ fork of Loxigen and its upstream version. ONOS recently moved to a much more recent version of the loxigen-generated Java library for its OpenFlow subsystem which should make it easier for me to merge with it my modified ONOS. I want to explore if I can completely separate my code from the controller and have it provide the same functionality as external modules. This would of course greatly simplify future maintenance of the work I did.
The SDWN System
The following sections document the structure of the system that I have built and list possible applications.
The Controller
The SDWN controller that I have written comes as an OSGi bundle that gets deployed as an ONOS application. It relies on ONOS’ OpenFlow subsystem which manages the connection to the wireless switches in the network. Since I am using a custom OpenFlow protocol extension, I have added a corresponding protocol driver into ONOS’ south-bound interface which is responsible for the handshake with the SDWN agent. The SDWN controller’s core interacts with that driver and ONOS’ OpenFlow controller to create its abstraction of the network elements. It maintains so-called SDWN entities to represent the relevant wireless network resources and their relationships. For example, an access point is running on a network interface card which supports a certain set of transmission frequencies and rates. The controller would represent this state in the form of Java objects for the network interface card, its capabilities as well as the access points and set the references between them appropriately. This information is stored and made accessible through different APIs. If clients associate with the access point, the agent on the node notifies the controller which learns the client’s properties and stores the relationship with the AP. SDWN applications need not communicate with the wireless hardware directly but only work with the abstractions provided by the controller. There are also means for applications to subscribe to certain events such as the association of a new client or the reception of a probe request frame by an access point.
SDWN Applications
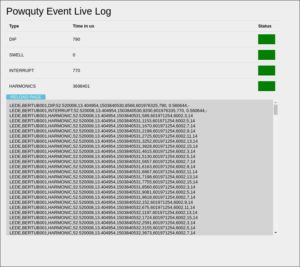
Applications can provide their services without having to interact directly with the network, they can leave communication details to the controller. For instance, the simple hearing map that I wrote subscribes to 802.11 management frame events. Every time the controller gets notified about such a frame by one of its APs, it informs the hearing map service. The service in turn stores the information about which AP on which switch received the frame on which frequency at what time and with how strong a signal.
Although I did not get to implement it, all the interfaces necessary to implement a blacklist of banned clients are in place. Simply register with the SDWN controller, hook into the stream of authentication and association request events, and deny unwanted clients based on their MAC address.
Or you could automatically push clients towards certain frequency bands: Query the hearing map for clients in the vicinity of an AP broadcasting at the desired frequency and check if they are currently associated with an access point on an unfavored channel. If yes, instruct that AP to disassociate and ban the clients for some time and grant their association request at the chosen target AP.
The Agent
To manage the network elements from the central controller, each of them needs to run an agent that maintains the connection, responds to queries, and executes commands. The SDWN agent is called wlanflow and it is built with the indigo OpenFow agent framework by the Floodlight project. It is available as a feed to integrate with the LEDE build system and uses UCI for configuration. Please refer to the instructions in the repository at GitHub (REPO LINK) about installation and configuration.
Wlanflow interacts with different other programs and services on the same machine. For example, it learns about most wireless capabilities through Linux’ netlink interface and subscribes to the standard Linux wifi soft-mac daemon hostapd via LEDE’s ubus IPC bus to receive notifications about incoming wifi management frames.
The Protocol
The SDWN controller and agent talk using an extended version of OpenFlow 1.3. The libraries for both the Java controller and the C agent are generated using a modified version of Loxigen.
Deploying the SDWN System
Like I said in the beginning of this blog post, I did not manage to realize all the ideas I had for this system. For this reason, the final product is a bit bare and lacks finish. Nonetheless, I encourage you to build a small installation and try out its features if you have spare wireless LEDE nodes lying around. I would appreciate your feedback and suggestions for improvements or new features.
You can find instructions on how to build and deploy the components of the SDWN system in their respective repositories which are listed at the top of this page.
Acknowledgments
Finally, I would like to thank Freifunk for letting me participate in GSoC again. Thanks to Andreas for organizing everything on Freifunk’s side and to my mentor, Julius.